


01
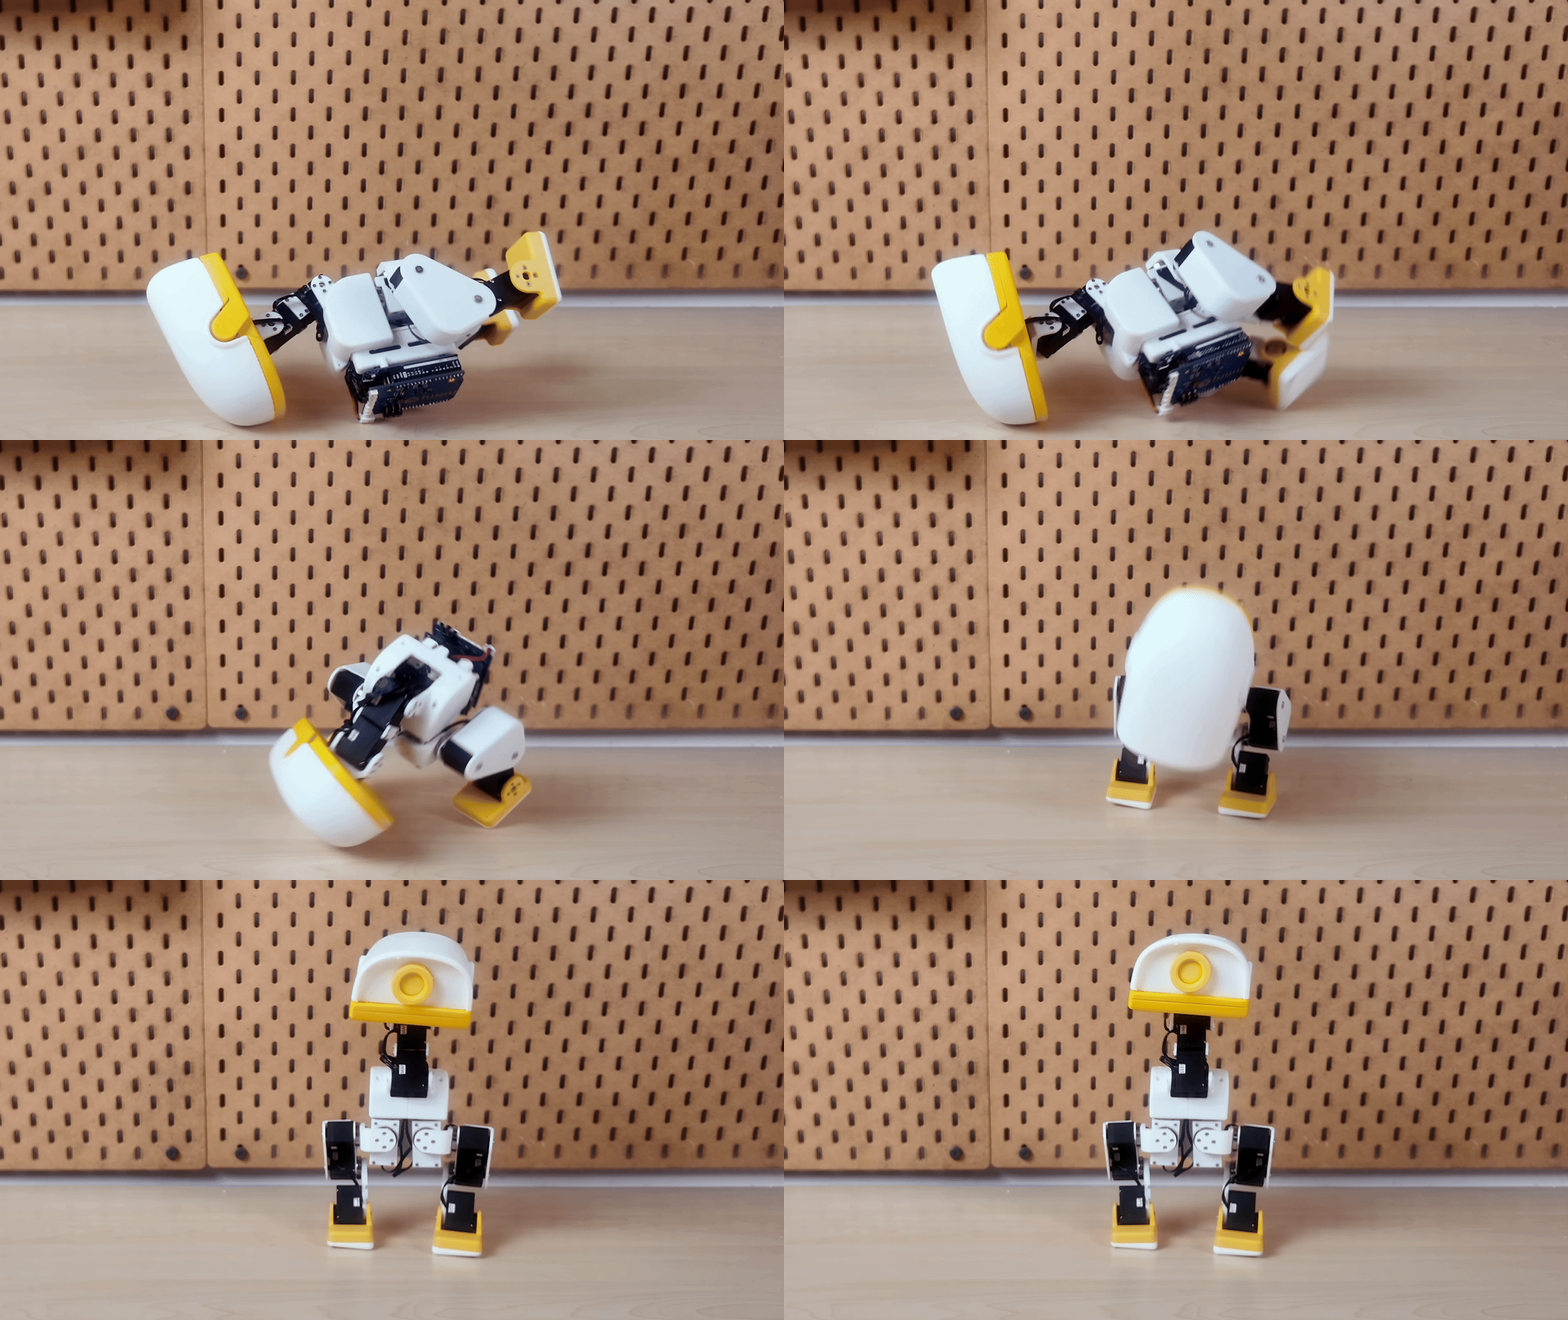
Get up
Explore IMU-assisted recovery from supported fallen poses.

XGO-Duck Biped Robot Electronics Kit with Audio & Video (Arduino UNO Q Not Included)

Please note: The Arduino UNO Q board and 3D-printed structural parts are not included. You will need to provide your own board.
To help protect the Arduino UNO Q from damage, we recommend using a soft, padded surface when XGO-Duck rolls over, gets back up, or performs similar movements.
Ships within 12 days of payment.
Due to the complexities of international shipping, returns are not accepted once your order has shipped. If you experience a product quality issue, we will arrange a replacement shipment or an exchange.
Build a small biped with a big personality. XGO-Duck brings 15 serial bus servos, expressive head and beak movement, and open-source hardware and software to your robotics projects. Use the browser cockpit to control movement, try actions, and explore the platform as you learn.
The audio and video edition adds a camera, microphone input, dual speakers, fill light, and an 8 × 8 ToF sensor for distance-aware forward motion. See the camera view in your browser and explore supported AI voice interaction.
XGO-DUCK / AUDIO & VIDEO ELECTRONICS KIT
01 — THE KIT
Build an expressive biped robot. Start with 15 serial servos, then add a voice, a view and a sense of distance.
Arduino UNO Q and all 3D-printed parts are not included. Assembly, calibration and software setup are required.
| Item | Specification | Qty. |
|---|---|---|
| XGO-Duck expansion board | V1.1 assembled board | 1 |
| Servo cables | AMP2.0-3P | 18 |
| Serial bus servos | Feetech HD1910M | 15 |
| Battery pack | 8.4 V · XH2.54 connector | 1 |
| Lithium-battery charger | 8.4 V · DC5521 connector | 1 |
| Assorted fasteners | Assembly screws | Approx. 300 |
| Bearings | 10 × 15 × 3 mm | 11 |
| Bearings | 16 × 22 × 4 mm | 11 |
| Speakers | 3025 · 8 Ω · 3 W each | 2 |
| Audio/video module set | Camera, dual microphones, audio electronics, fill light & matching cables | 1 set |
| Multizone ToF module | VL53L5CX · 8 × 8 zones | 1 |
Arduino UNO Q and printed body or skate parts are supplied separately.
02 / MEET YOUR DUCK
Two legs. A curious head. A beak with something to say.
Print the structure, put the pieces together and bring XGO-Duck to life. Explore movement and expressive poses, then make camera, sound and distance sensing part of your next idea.
See Duck in action ↘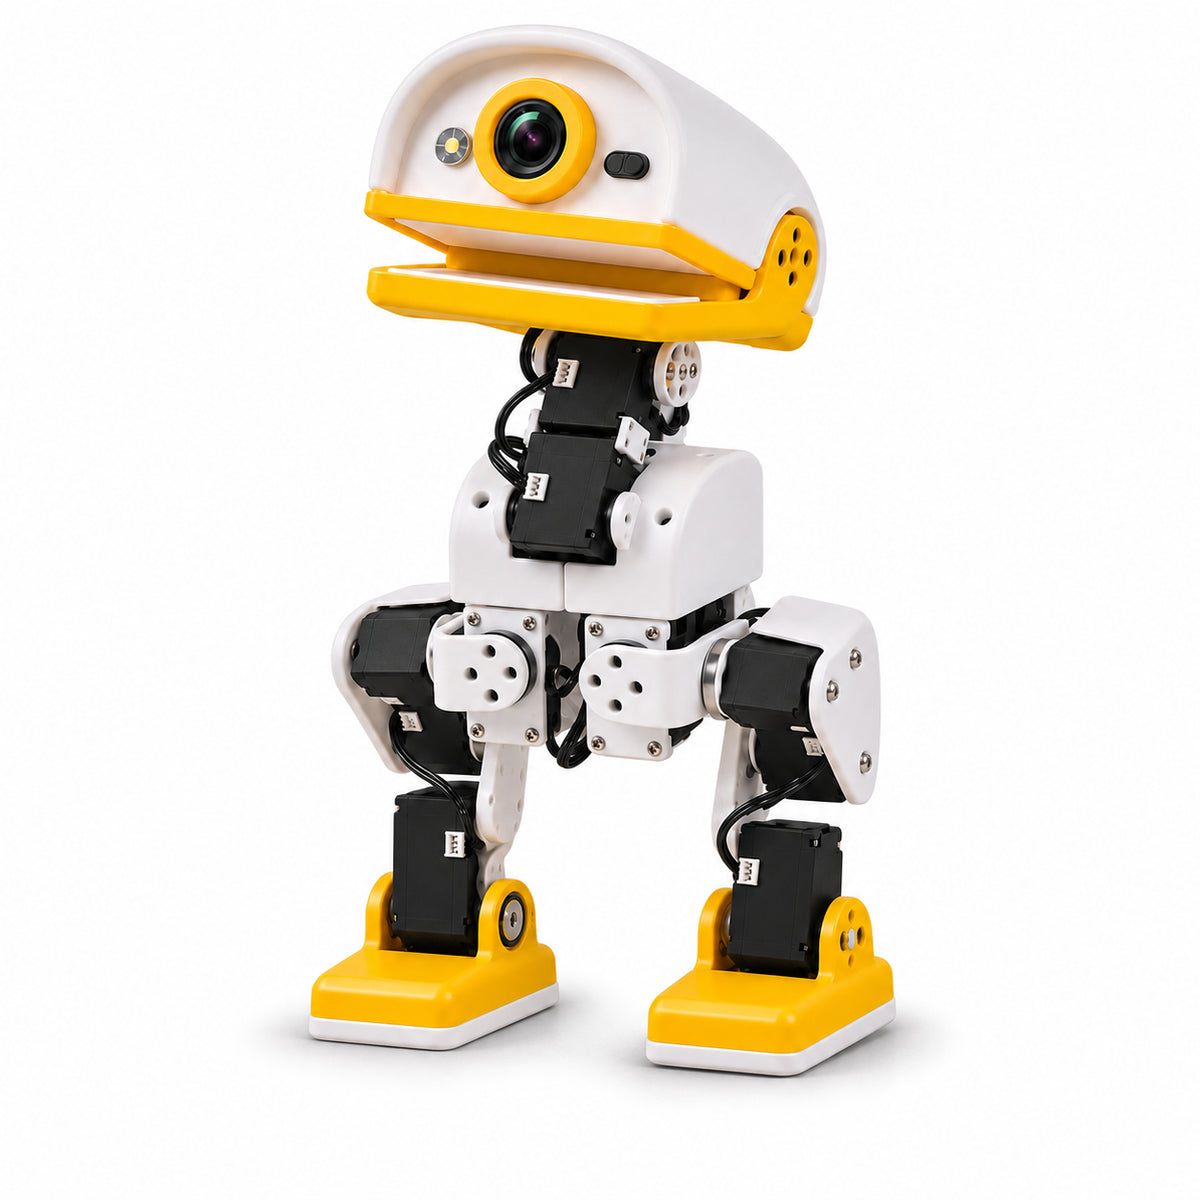
03 / MOVEMENT & EXPRESSION
From the first step to a curious tilt of the head. Explore nine ways to bring your Duck to life.
Explore IMU-assisted recovery from supported fallen poses.
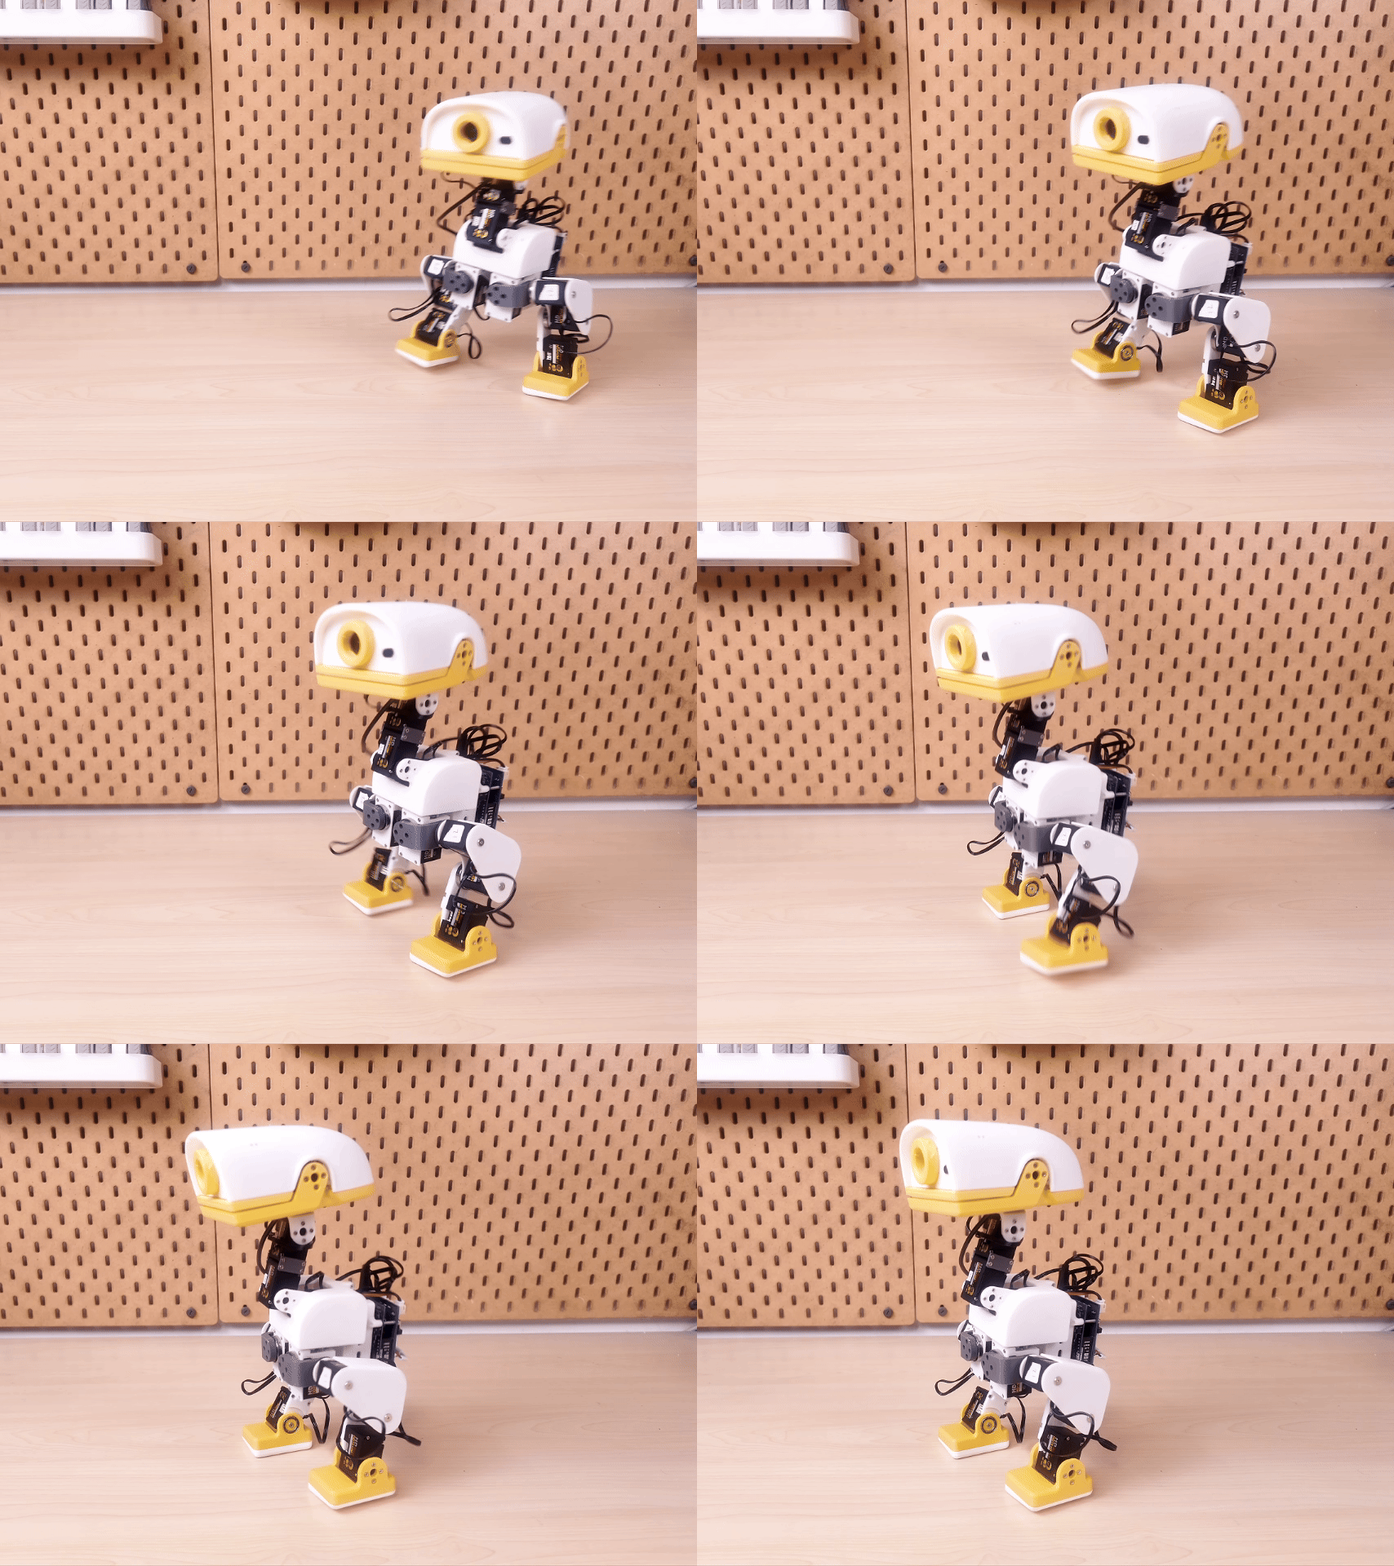
Send movement and turning commands from your browser.
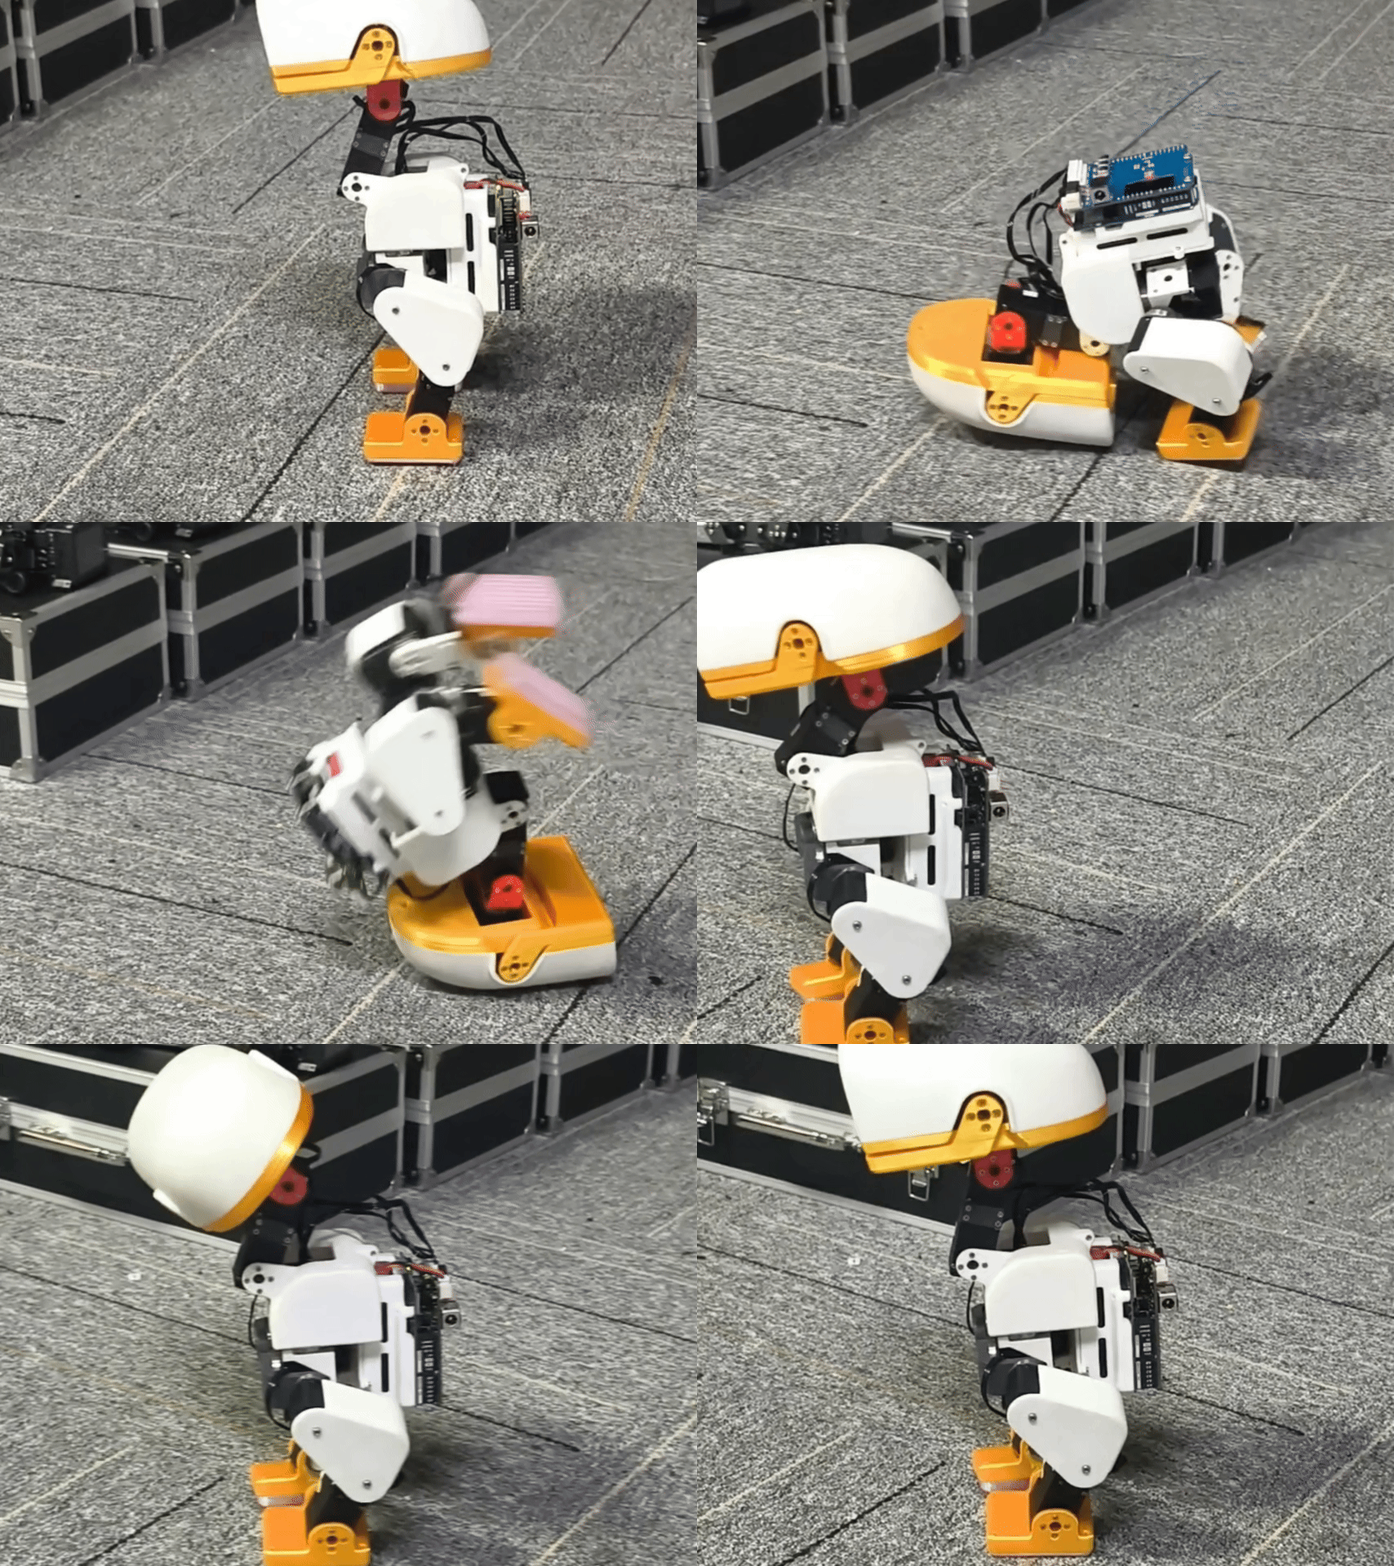
Trigger a body roll, then return to walking mode.
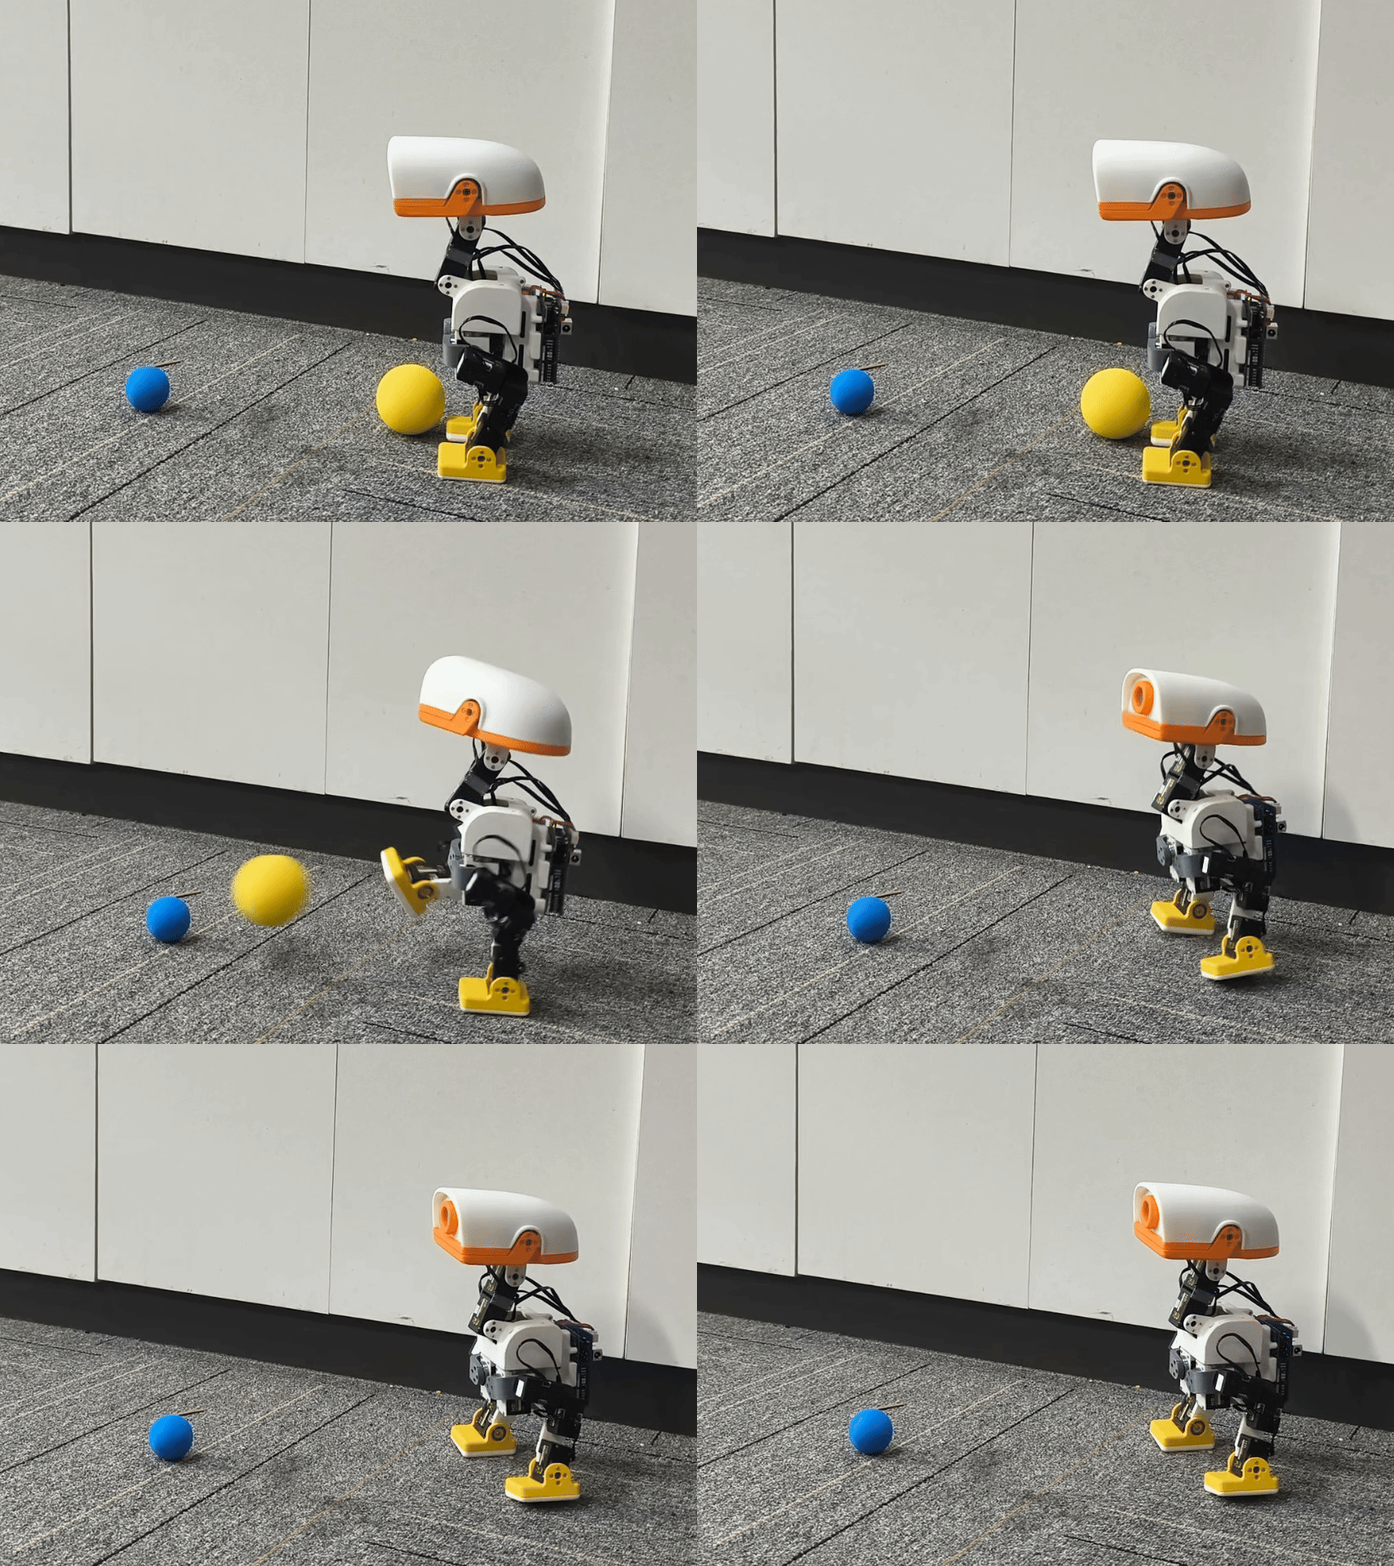
Try left- or right-leg kicks through the action controls.
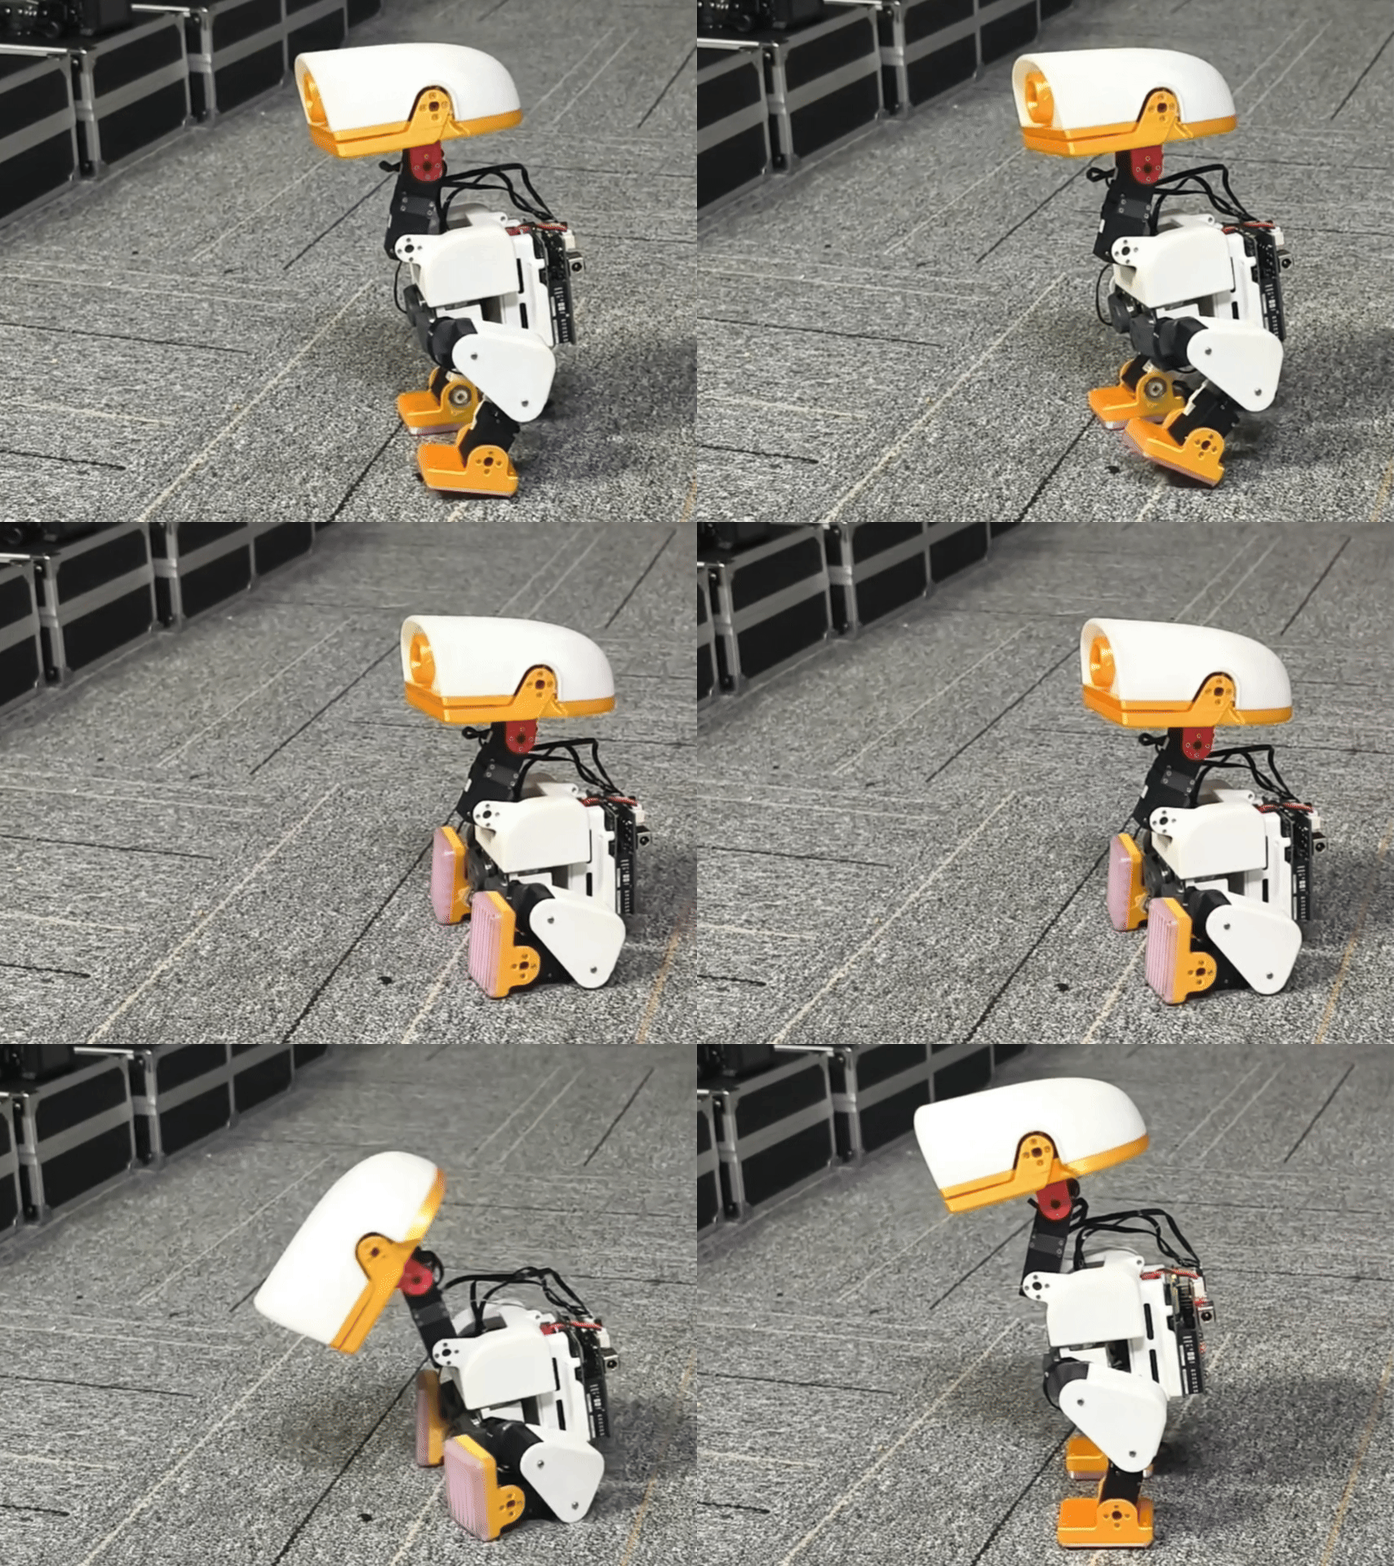
Take a seat, then command Duck to stand again.
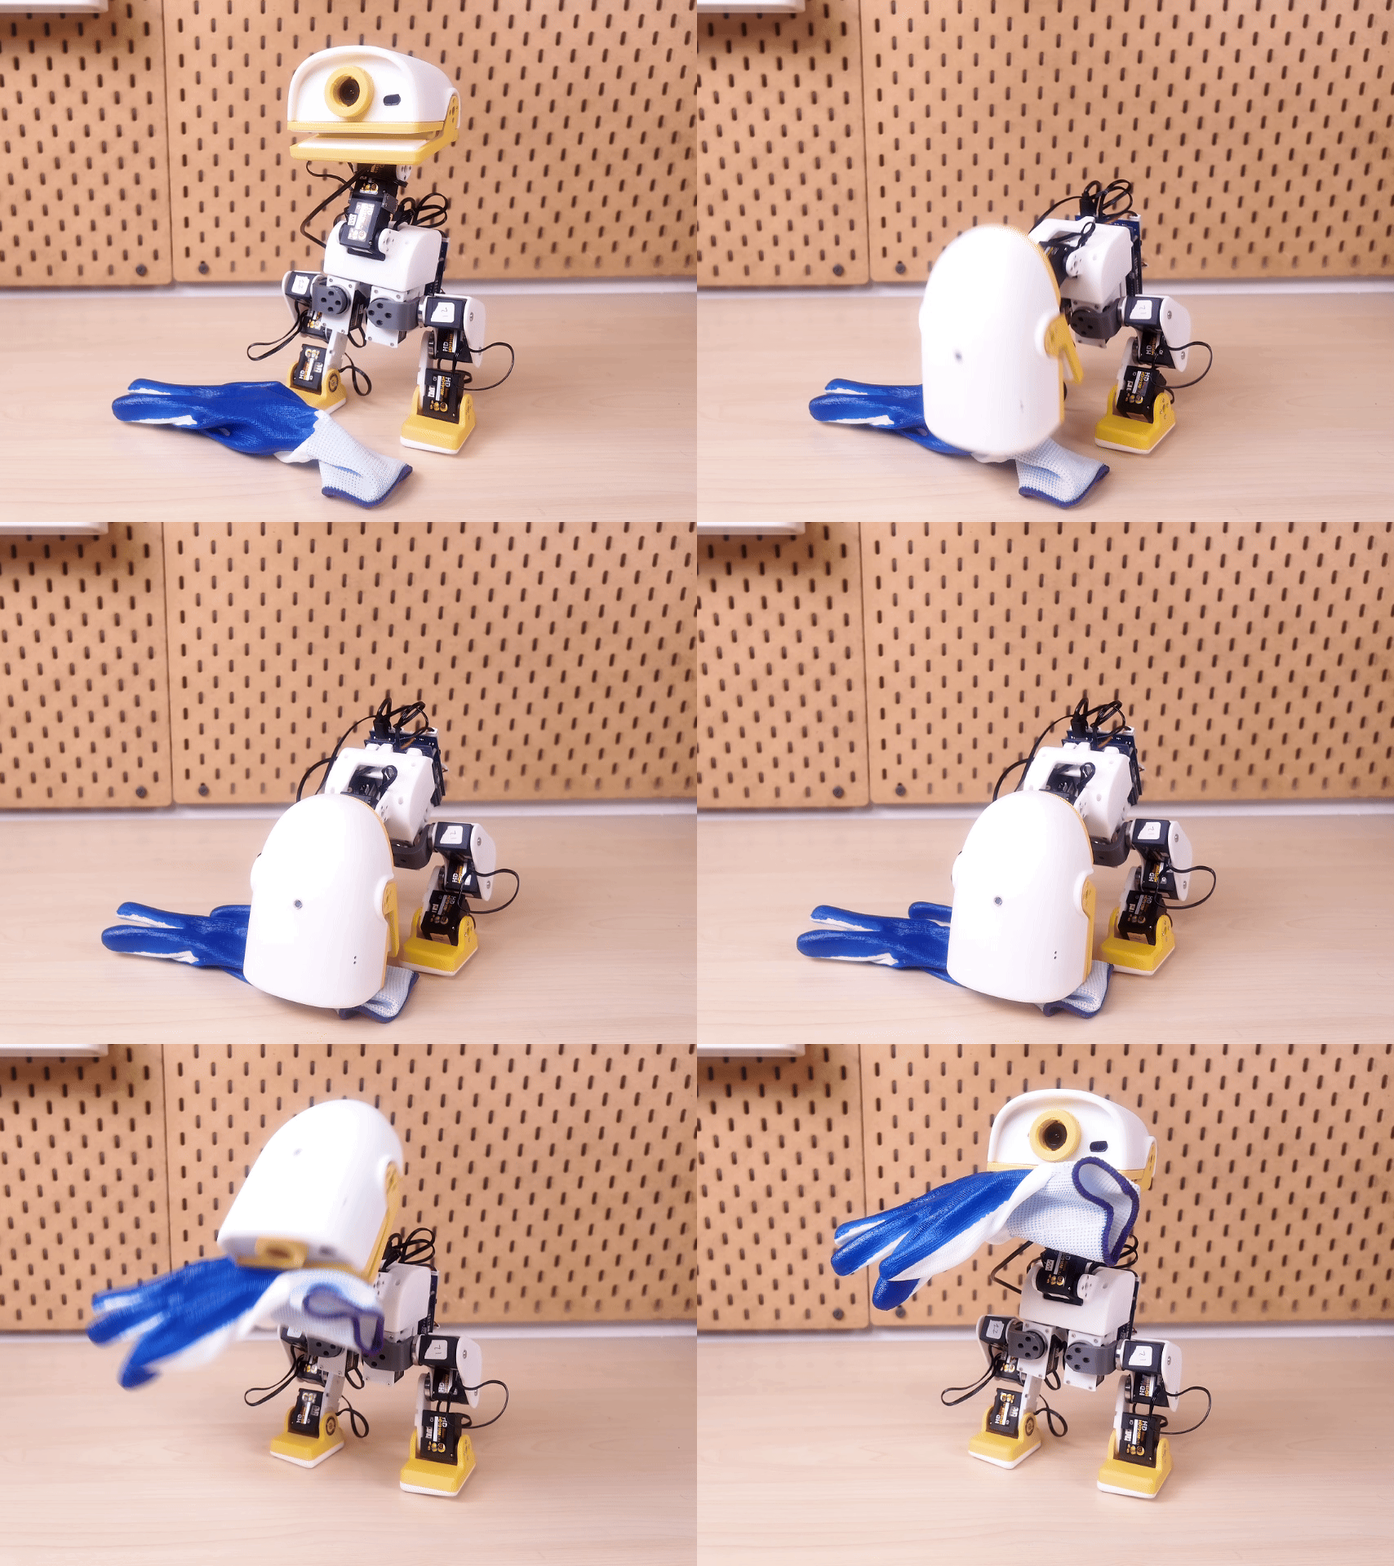
Manually trigger a bend with a coordinated beak action.
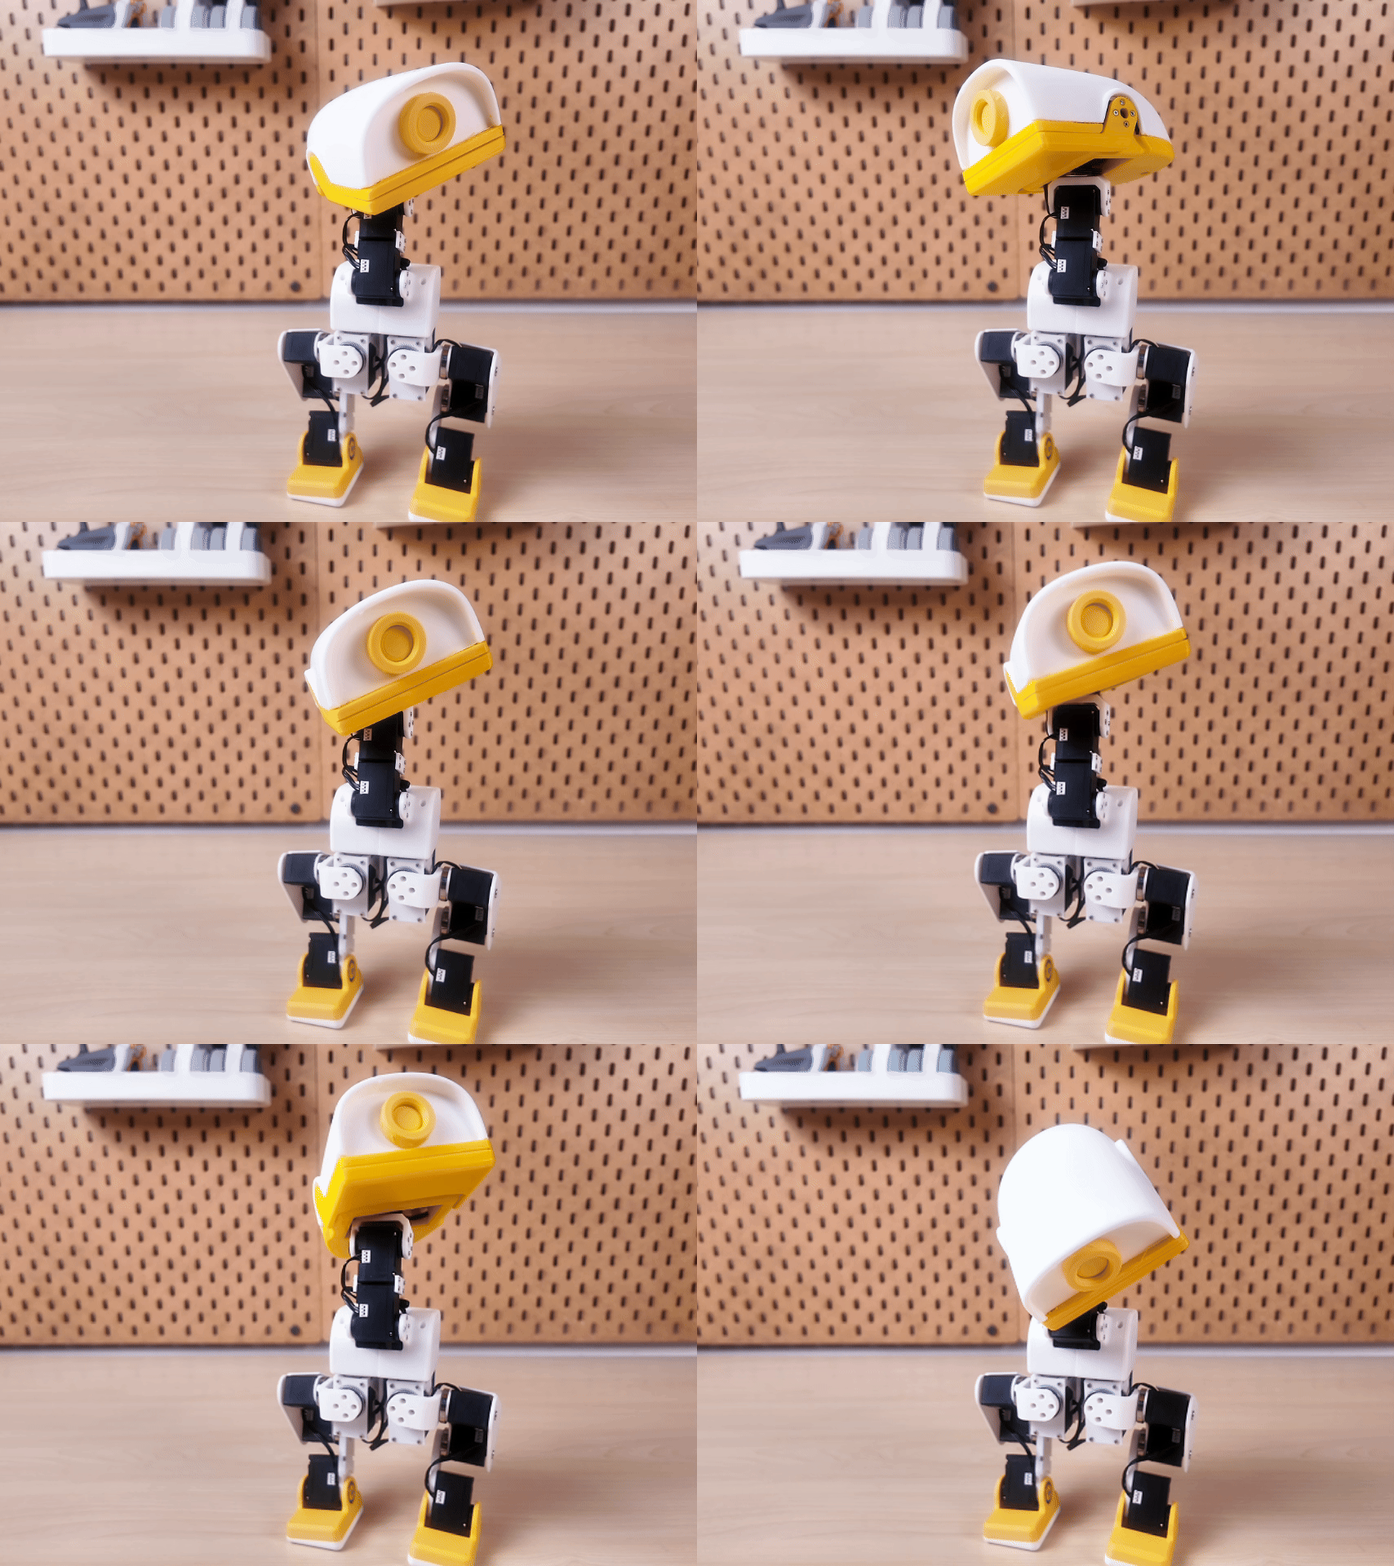
Explore turns and tilts with four articulated joints.
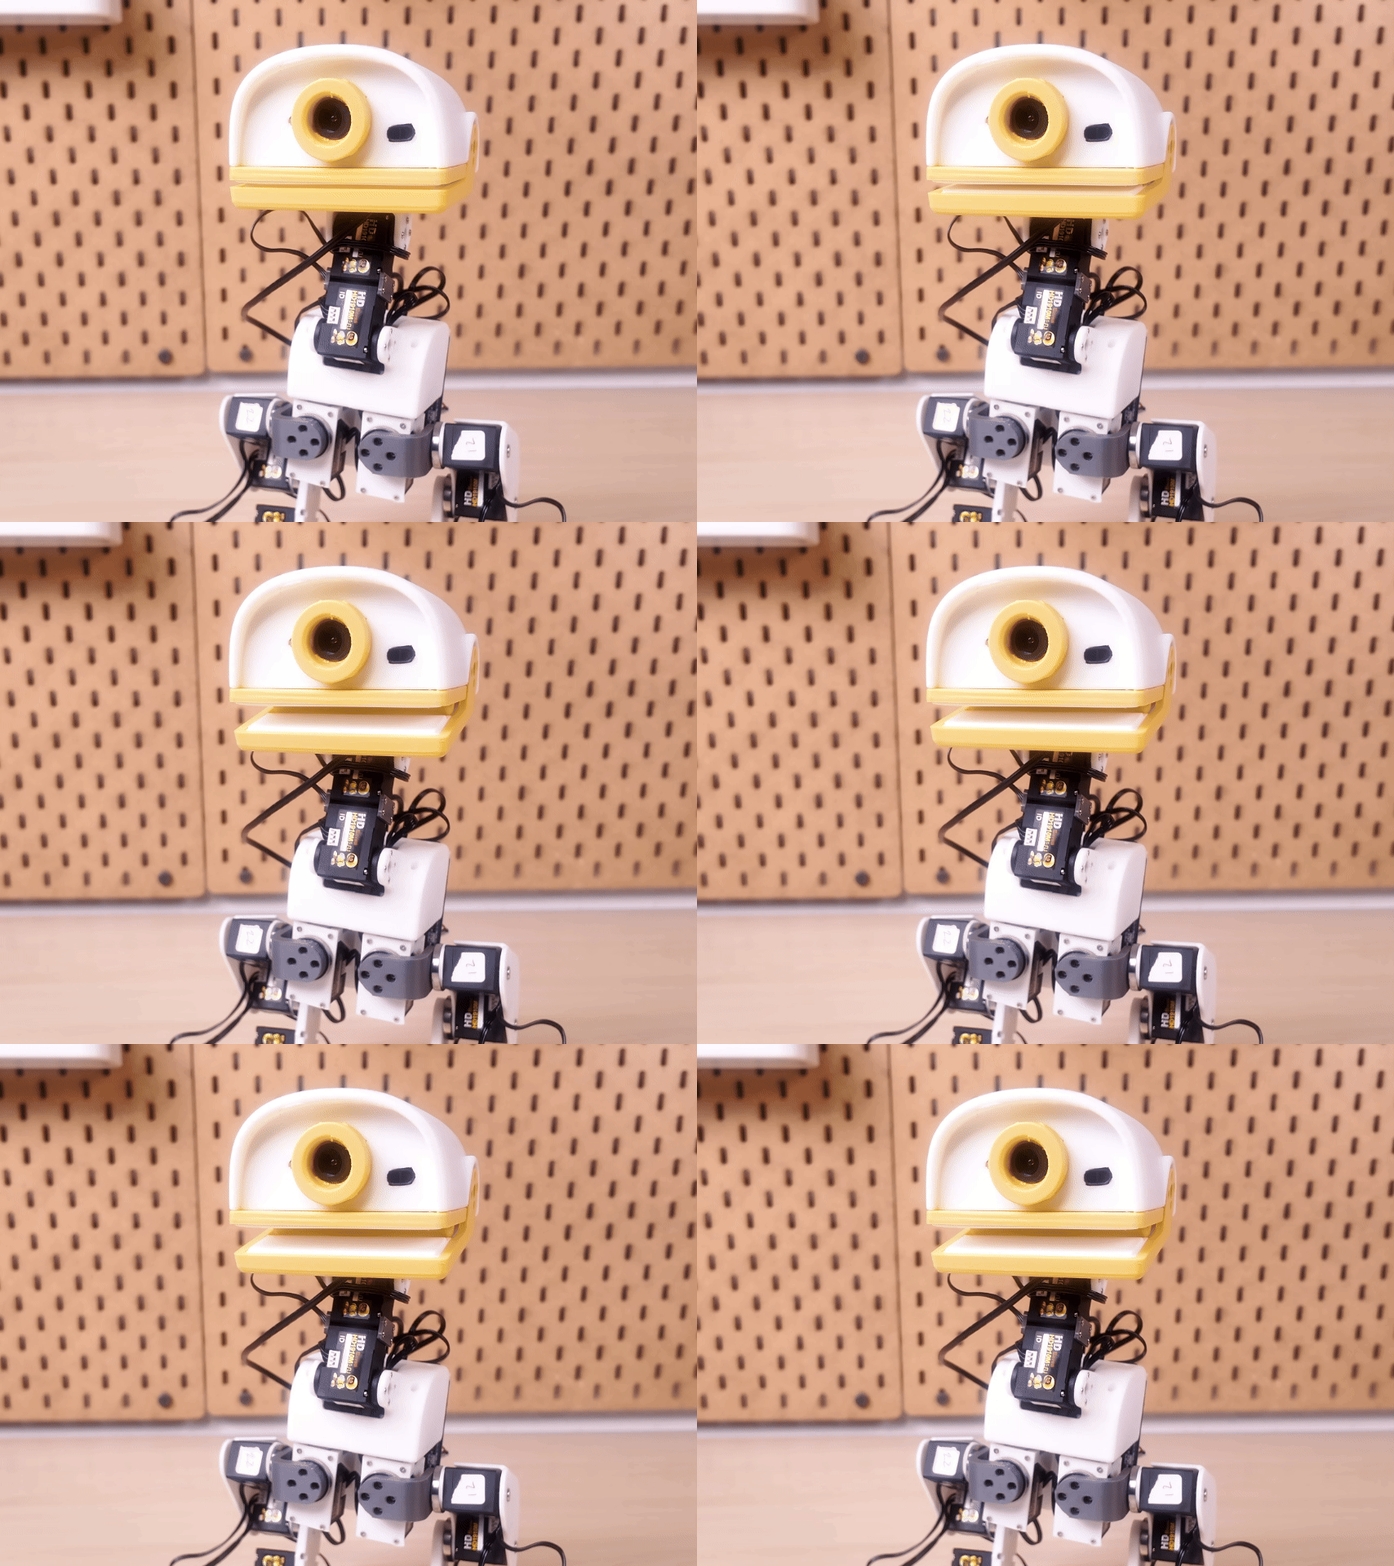
Open and close the beak with its independent servo.
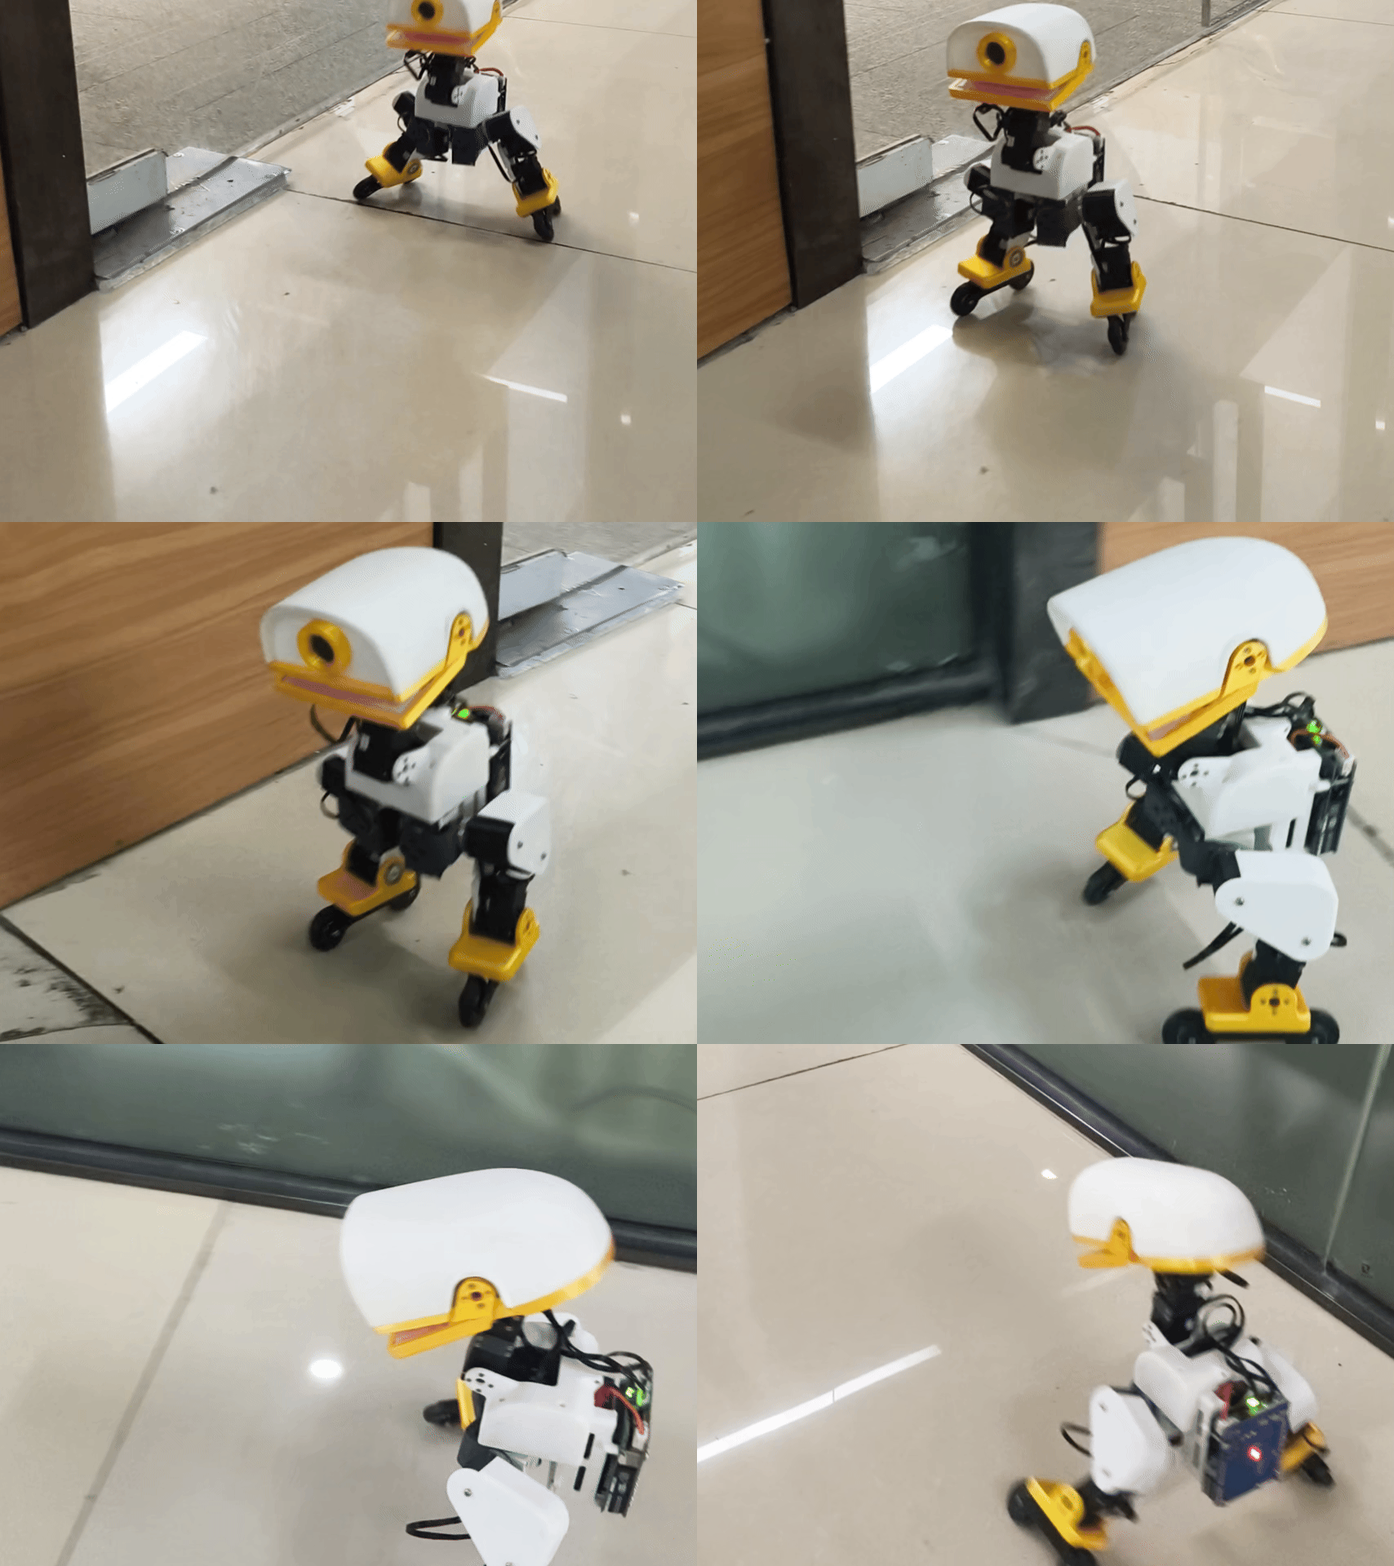
Explore skating with matching attachments and passive wheels.
Earlier prototypes shown; appearance differs from the current kit. Actions depend on the installed runtime and setup.
Skating uses passive wheels. Printed parts and skate attachments are not included.
04 / THE HARDWARE BEHIND THE CHARACTER
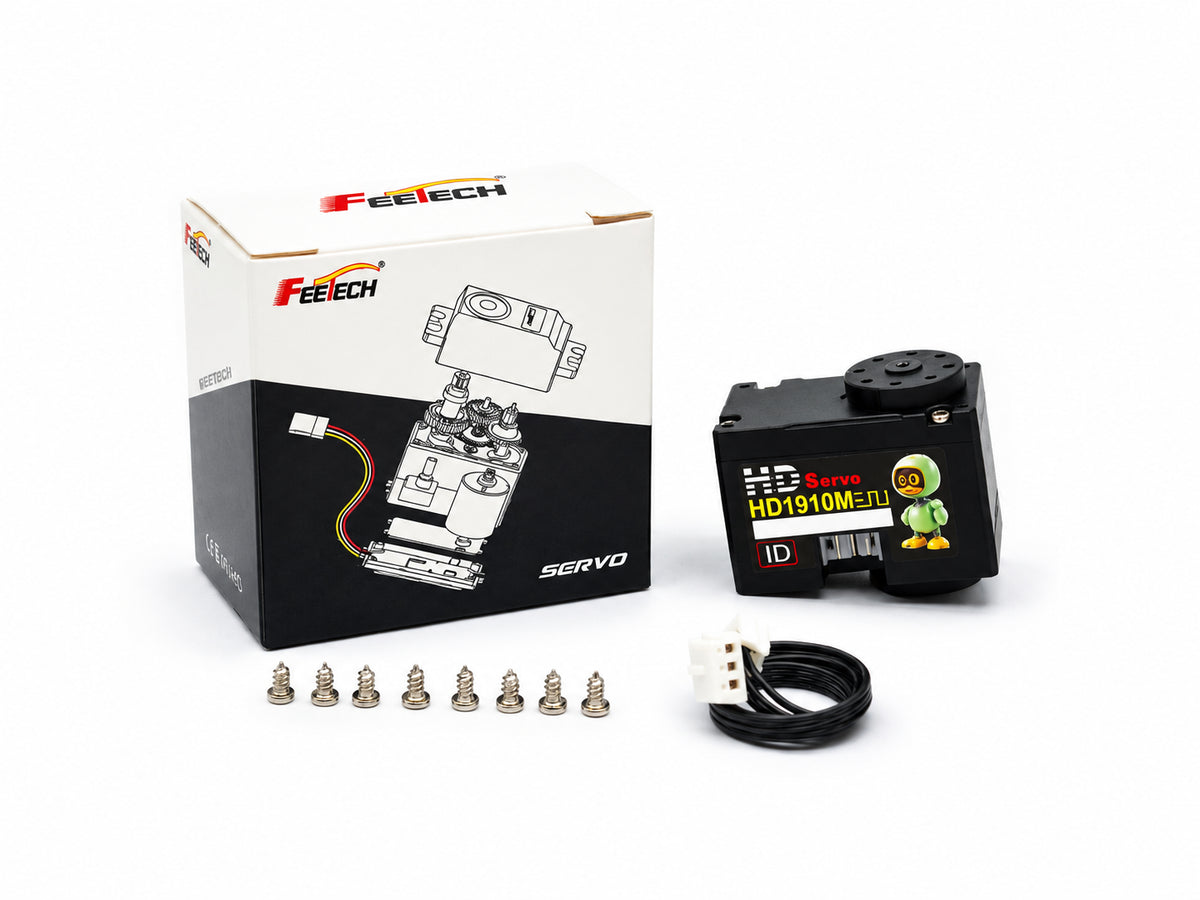
15 serial servos work together across the legs, head, neck and beak. Metal gears, coreless motors and magnetic encoder feedback support your motion experiments.
| Reference voltage | 4.8 V | 6 V | 7.4 V |
|---|---|---|---|
| No-load speed* | 0.137 s/60° | 0.109 s/60° | 0.088 s/60° |
| Stall torque* | 9 kg·cm | 12 kg·cm | 15 kg·cm |
| Rated torque | 2.2 kg·cm | 3 kg·cm | 3.7 kg·cm |
*±10%. Stall torque is not continuous operating torque. Encoder resolution is not mechanical positioning accuracy.
05 / ONE BROWSER. YOUR WHOLE DUCK.
From a phone or computer, use the browser as your control center for movement, calibration, camera and robot status.
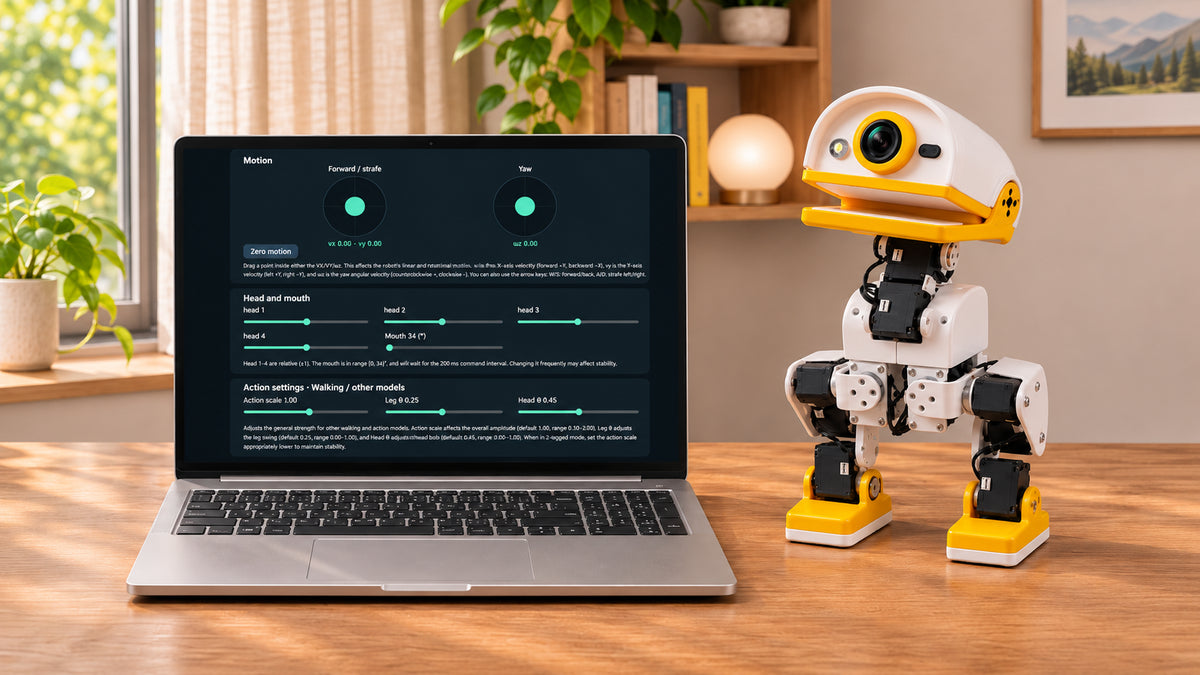
Control direction, head, neck and beak. Trigger supported actions.
Configure servo IDs, tune parameters and set joint zero positions.
Inspect runtime, IMU and servo status as you develop your build.
06 / INCLUDED AUDIO & VIDEO COMPONENTS
The same expressive Duck, with hardware for camera viewing, voice input, audio playback and distance sensing.
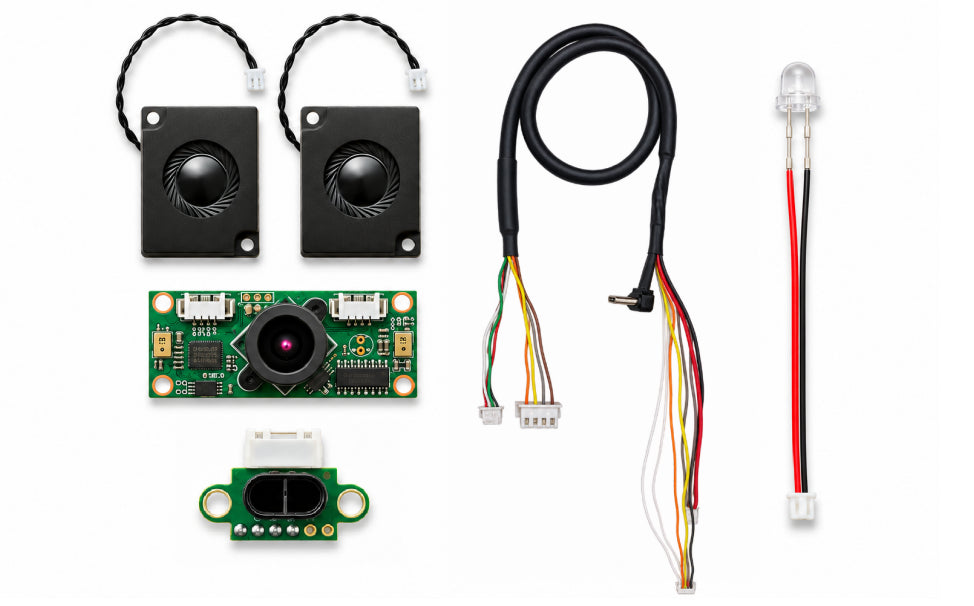
Visual input and two-channel sound capture.
Voice responses, sound and audio playback.
Lighting support and multizone distance input.
View the camera feed and capture images from the browser. The 2 MP camera supports 1080p at the hardware level.
The documented browser preview is 640 × 480 at about 15 fps. Actual settings depend on the runtime.
Dual microphones and two speakers provide the hardware for voice interaction with a supported AI agent.
AI conversation requires internet access, account binding and agent setup.
07 / VL53L5CX DISTANCE SENSING
An 8 × 8 depth grid measures distance across 64 zones, giving your projects spatial input for proximity sensing and interaction.
*Up to 4 m is a sensor capability, dependent on conditions and configuration. Distance input does not provide autonomous navigation or protection from stairs and falls.
08 / YOUR HANDS. YOUR ROBOT.
Start with the electronics. Supply your own Arduino UNO Q and compatible printed parts, then turn the kit into your own Duck.
Download the compatible 3D print files and print the structural parts. Bring your own Arduino UNO Q.
Follow the wiring and assembly guides, install the runtime and calibrate the servos and IMU.
Open the cockpit, test motion and media, then explore your own interactions and development ideas.
09 / REINFORCEMENT LEARNING & SIM-TO-REAL
Develop a motion policy in a virtual world. Export it, test it on the real robot and keep refining what happens next.
It turns robot pose, joint states and your target commands into joint actions. Rewards guide learning toward the task and better coordination.
XGO-Duck uses PPO in mjlab, powered by MuJoCo Warp, with ONNX export for deployment.
PREPARE
Match Duck's geometry, mass, joints and actuator settings.
Define contacts, terrain, observations and available actions.
DEFINE
Choose walking, getting up, sitting, picking, kicking, rolling or skating.
Shape target speed, posture and movement quality.
TRAIN
Sample parallel simulations, update the policy and review logs.
Replay results. Check inputs, normalization and joint order before ONNX export.
VALIDATE
Match the runtime, calibrate servos and IMU, then test on the robot.
Adjust the model, environment or controls. Retrain and test again.
Training requires a separate CUDA-capable computer. Validate simulation results on the physical robot.
Explore the training project ↗10 / WHAT YOU CAN LEARN
Start with the part that interests you. Discover how mechanics, software and sensing work together in one robot.
Explore the UNO Q, expansion board and wiring. Connect and debug serial servos, the IMU, camera and ToF sensor.
Deploy onboard programs and services. Learn how browser controls, device status and media connect to the robot.
Work with joint calibration, pose feedback and motion policies. Connect mechanical assembly to gait and coordination.
Study modeling, task design, PPO training and ONNX export. Compare simulated behavior with real-world results.
Bring images, audio and depth data into your own applications. Explore how perception, decisions and actions connect.
BEFORE THE FIRST STEP
No. This electronics kit includes the XGO-Duck expansion board, but you need to supply your own Arduino UNO Q controller.
No. All 3D-printed structural parts and optional skate attachments must be prepared separately. Skating also requires compatible passive wheels and the matching control setup.
Yes. The kit includes the camera and dual-microphone module, two speakers, fill light, ToF sensor and matching connection cables. Follow the compatible runtime and wiring guides.
No. This is an electronics kit. Printing, assembly, calibration and software setup are required. Assembled robot images show the completed build.
Yes. It requires internet access, account binding and a configured agent on a supported service. Service availability and usage terms depend on the provider.
Start with the official XGO-Duck guide ↗, then use the linked hardware and runtime resources for your audio/video configuration.